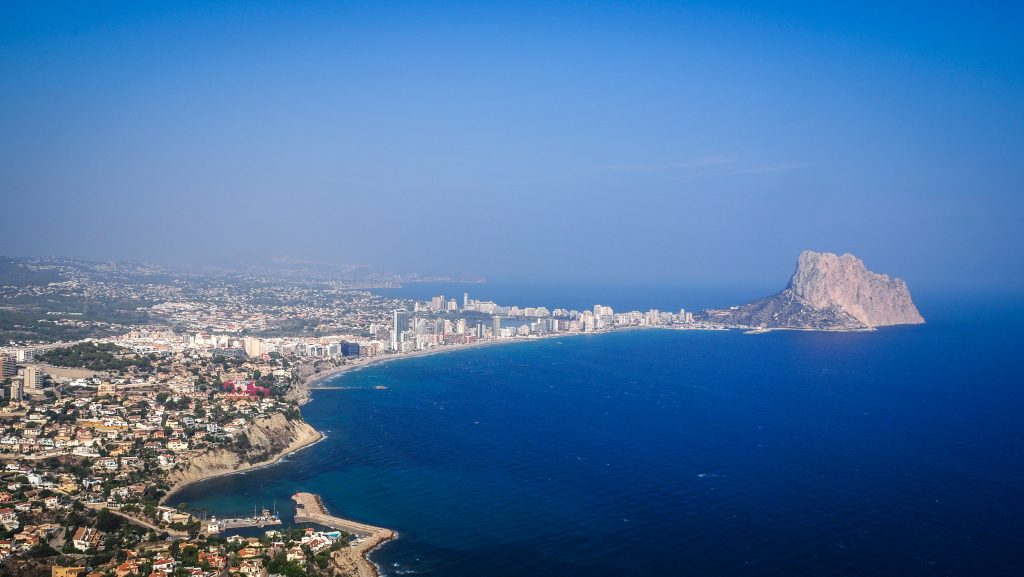
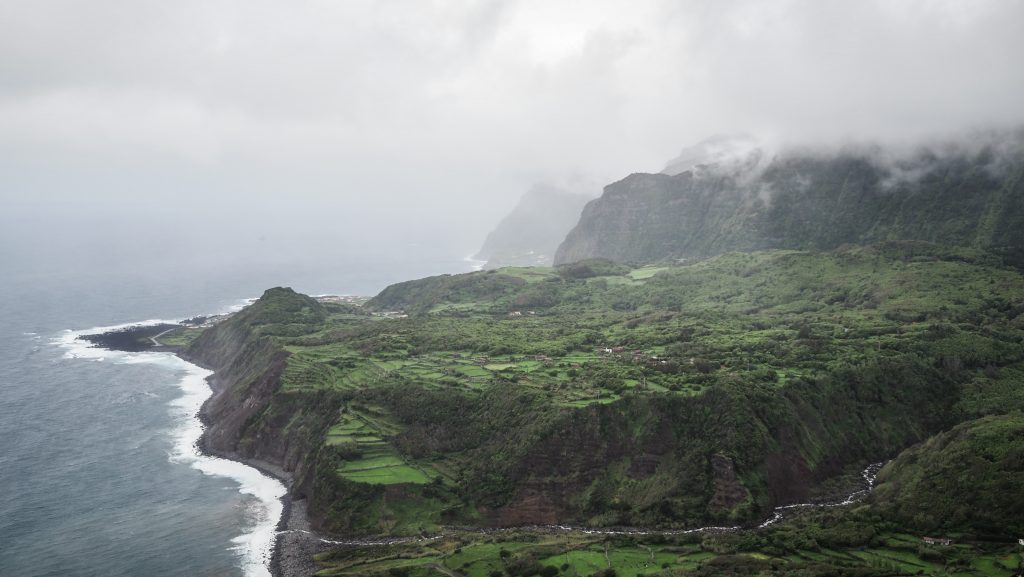
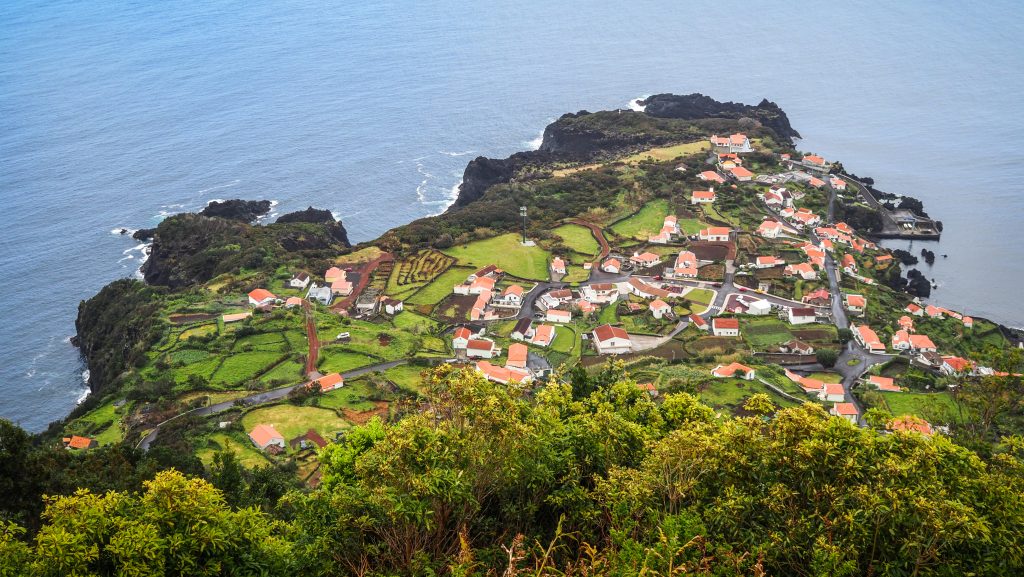
I didn’t know what to expect from the Aragon region of Spain. Zaragoza was okayish but nothing breathtaking and… Teruel? Never heard about that city before but it seemed to be a good place to stop on the way to more touristic Albarracín. How lucky I was! I love this feeling when after arrival to a rather small town for an simple overnight stay without high expectations, I fall in love with it and it becomes one of the highlights of my trip. And that is exactly what happened with the capital of Mudejar architecture – Teruel.
From the historical point of view, besides the fascinating period of Muslim influence and development of Mudejar architecture (which I will explain further on), Teruel has also some dark pages written in the period of the Spanish Civil War when a significant part of the city was destroyed due to heavy artillery and aerial bombardment. The Battle of Teruel lasted from December 1937 until February 1938 and was one of the most tragic of the war, claiming the lives of about 140,000 casualties.
How long to stay?
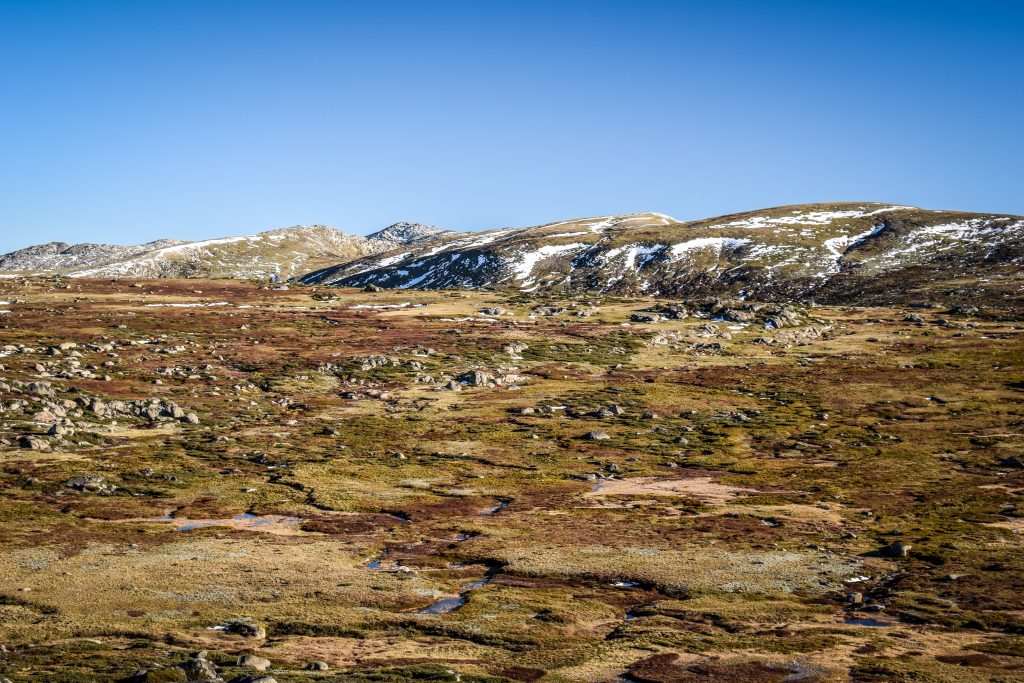
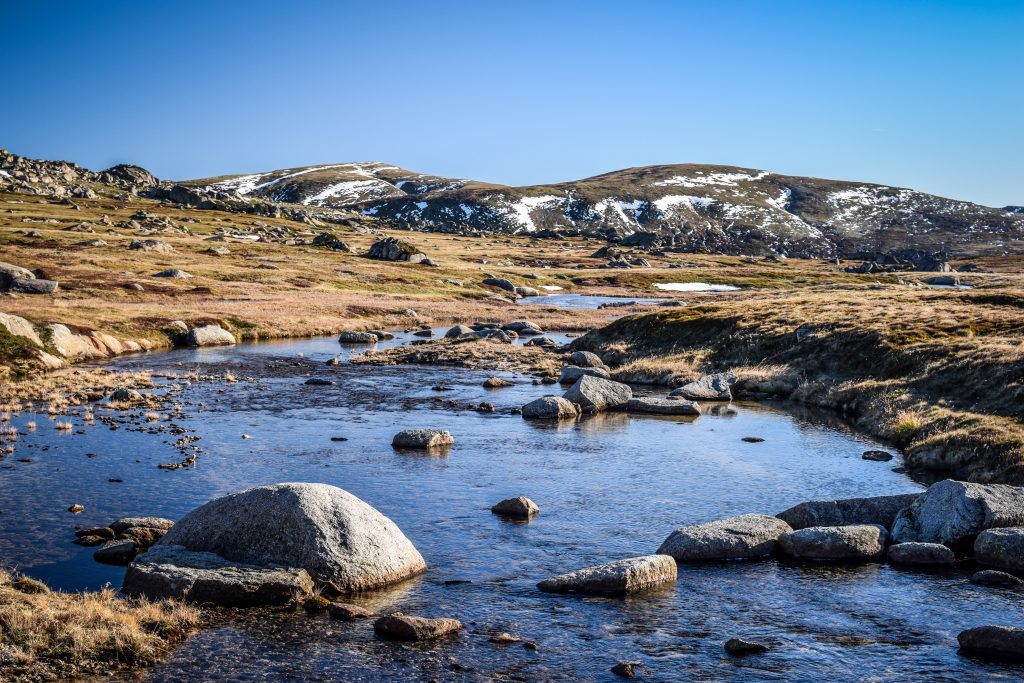
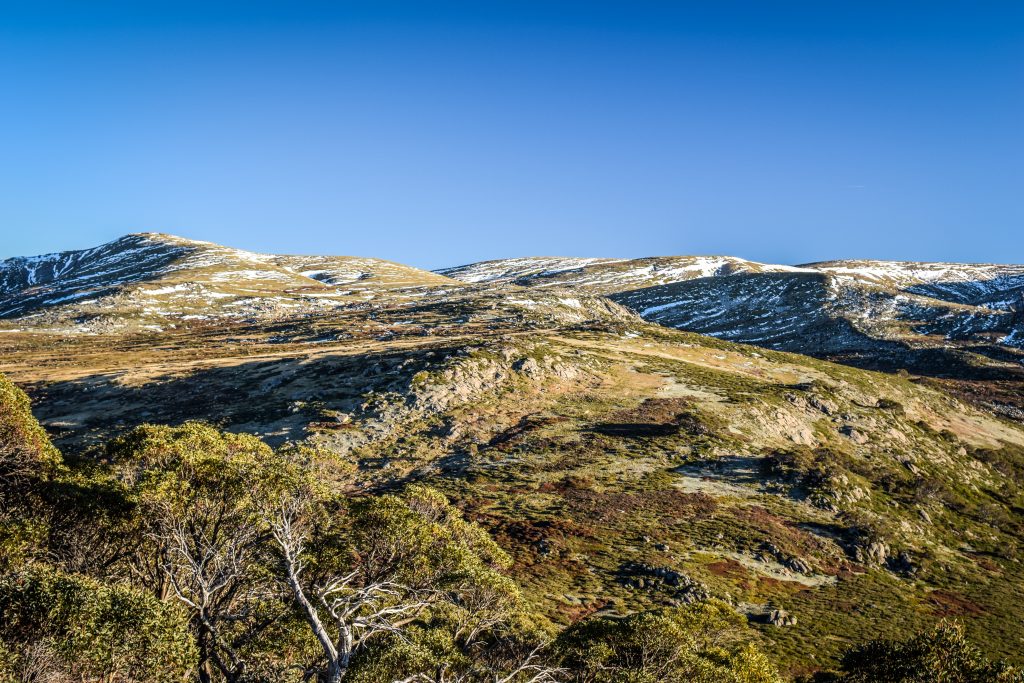
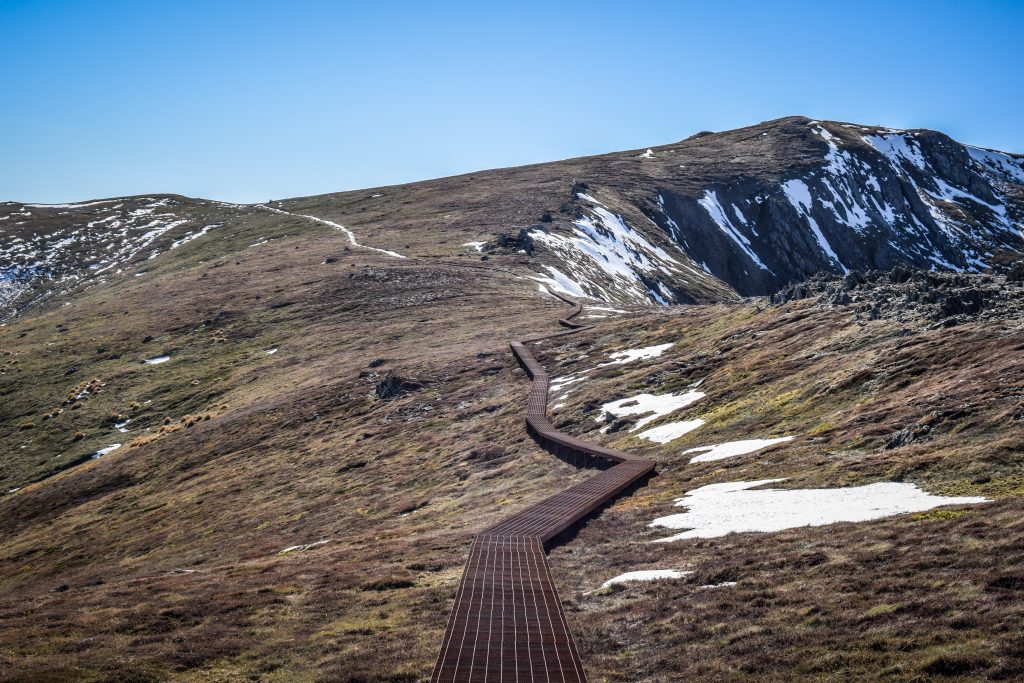
I suggest staying at least 1 night in town, especially if you want to do some hikes (and you definitely should). Cañon Rojo Teruel and Camino Natural del Rio Guadalaviar are only a short drive away and the views are simply amazing.

Where to stay?
I can fully recommend Hostal Aragon, located just next to Plaza de El Torico. A single room with fast internet, a small desk and a private bathroom cost me about 30 EUR (in October 2021).
Architecture
Mudejar style is unique in Spain and reminded me of the trip to Andalusia one year before, where traces of strong Muslim influence are still clearly visible.
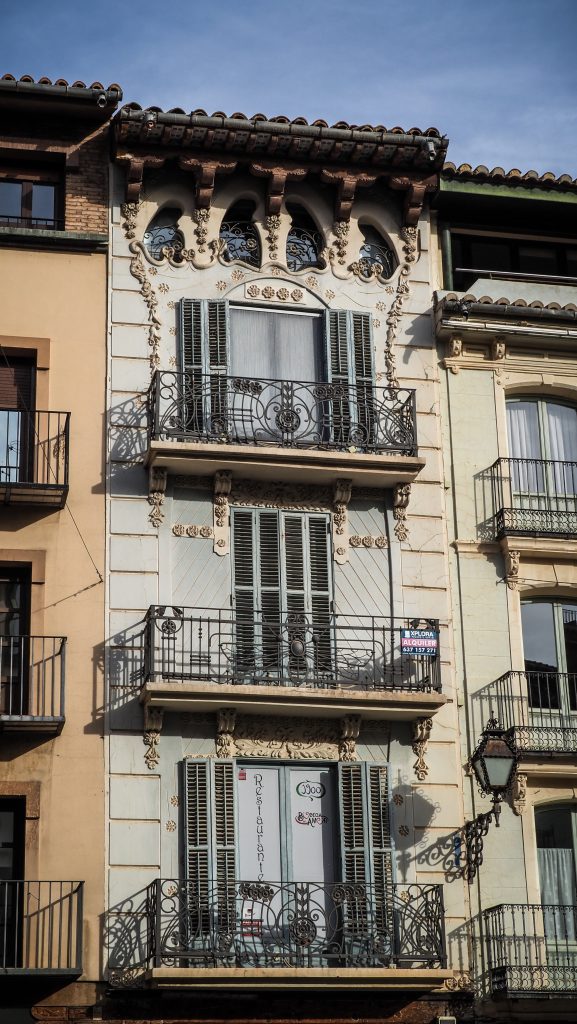
As a result of the Reconquista, so a long series of battles led by Christian states to expel the Muslims from the mid-700s to 1492, towns and villages were coming back into Christian hands one after another. However, some Muslims were allowed to stay in Iberia and were not initially converted to Christianity or exiled. Instead, their skills were used to create decorative elements that referred to Islamic arts (e.g. calligraphy, intricate geometry, and vegetal forms) and which were later merged with Christian styles of architecture. Walking on the street of Teruel is an experience in itself and you better have your camera ready!
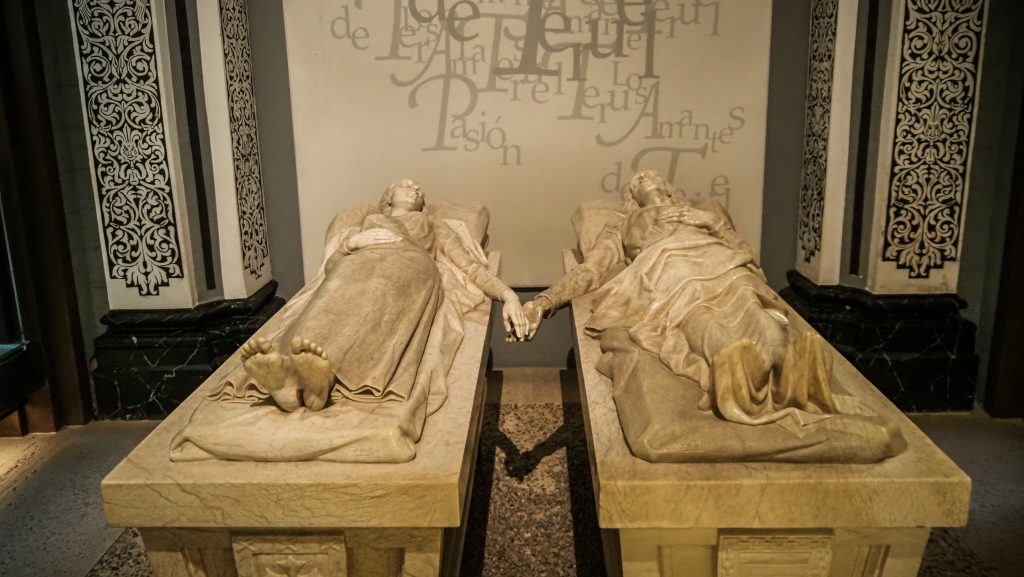
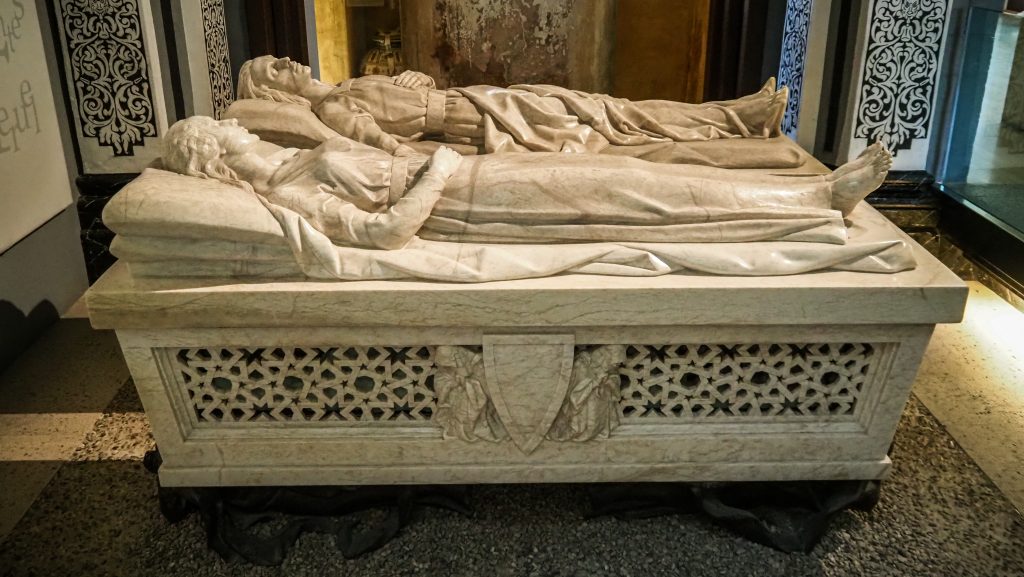
The Legend of the Lovers of Teruel
The story is set in the 13th century when Juan Diego de Marcilla and Isabel de Segura fell in love. Both of them were from different social classes and Isabel’s father refused to give the hand of his daughter to the man without money. However, they managed to agree with the father to give Diego 5 years to collect funds, before arranging the marriage of Isabel with someone more appropriate.
Diego returned to the city 5 years later only to discover that Isabel got married one day before his arrival. He did not realize he was one day late, as had not considered the day the agreement was reached to be part of the five-year limit. Bad luck, right? Well, now the dramatic part starts.
Diego asked Isabel for a kiss but she refused out of loyalty to her new husband. Diego’s heart was totally broken and he died. At his funeral, Isabel’s grief was so strong that she decided to give Diego the kiss he had wanted so badly in life. And as she did so… she died.
The story of two lovers inspired the citizens of Teruel to demand their burial together so that at least then they could be together. This request was granted by the church. The fame of the couple soon spread through Spain. In 1560 two mummies were exhumed and placed in the tombs where they now rest and the carved figures on the lids nearly touch their hands.
The Legend of Two Towers
Yes, there is another legend, and guess what? Obviously love messed up again! This time it is all about two Muslim architects, Abdalá and Omar, who worked in Teruel at the beginning of the 14th century. The Christians were looking for someone willing to build attached towers for the churches of San Martín and El Salvador, and the mentioned two got the job.
And then…. surprise, surprise. A beautiful Moor woman named Zoraida crossed the path of the masters. Both of them fell in love and she also couldn’t make the decision and choose the one. Then Zoraida’s father came up with a brilliant idea. The one who would raise the most beautiful tower in the shortest time would get the hand of his daughter.
After some time, Omar finished his work first but he was not a winner. The San Martín tower wasn’t straight! Zoraida married Abdalá and they both enjoyed the views from El Salvador Tower, including the rival’s tower close by.
Places worth seeing
Fundacion Amantes – Definitely the most popular tourist attraction in town. Besides the Mausoleum of the Lovers, where you can see the famous alabaster tombs of Juan Diego de Marcilla and Isabel de Segura, you can visit the Church of San Pedro, with its beautiful ornate ceiling in gold stars, as well as cloister, apse and garden.
The combined ticket for all sights costs 9 EUR which, in my opinion, is quite a steep price for what the place has to offer. Audioguide is included.
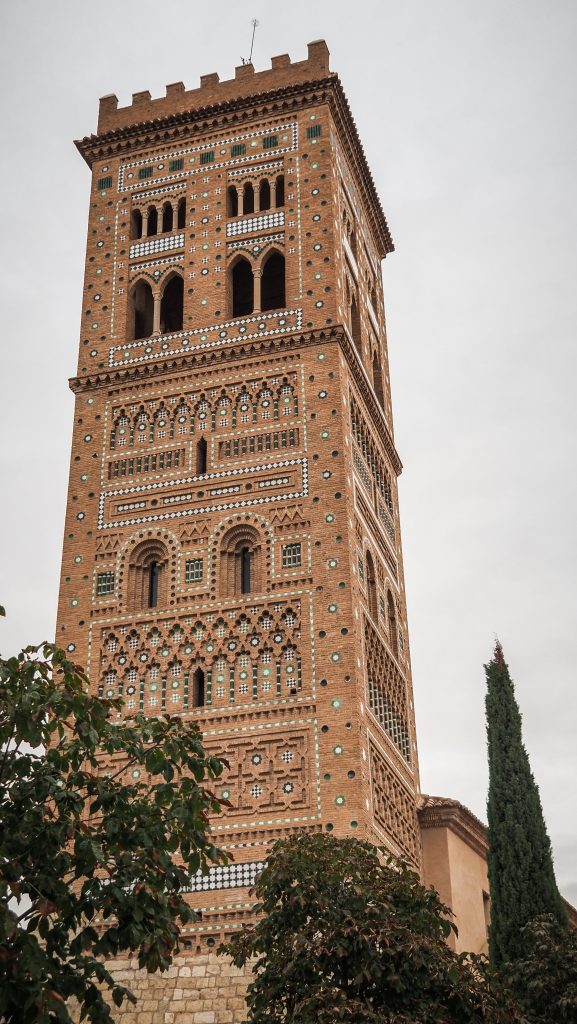
The Tower of San Pedro, which is the oldest of Mudejar towers in town also belongs to the complex but unfortunately, it wasn’t accessible on the day of my visit.

Catedral de Santa Maria de Mediavilla and Museo de Arte Sacro – The cathedral was built in the same place where Santa María de Mediavilla Church once stood. The Moor called Juzaff was responsible for replacing the Romanesque apses with Gothic-Mudejar ones, of which only the main chapel remains. The roof of the central nave is the most representative of the period, because of its structure and decoration. It is 32 metres long and dates from the 14th century. The dome in the central nave was built in the 16th century. The Mudejar tower began to be erected in 1257, which makes it one of the oldest Mudéjar towers in Spain. It is square and has three floors heavily decorated with tiles.
The only thing that I didn’t like is the fact that you can’t visit the cathedral alone, but you are forced to buy a combined ticket including also a museum, which I wasn’t particularly interested in. The ticket costs 6 EUR.


Torre de El Salvador – The tower was most probably completed in the first quarter of the 14th century, imitating San Martin Tower. There is a viewpoint on top of it and simple exhibitions on three floors on the way up, including English translations. The entry costs 2.5 EUR.

Torre de San Martin – Even though it looks similar to Torre de El Salvador and can’t be climbed, it’s still worth having a look and admiring another spectacular example of Mudejar architecture. It was completed in 1316 and included in the city walls in the 16th century.

Museo Provincial – Excellent museum with free entrance and extensive collections of artefacts from prehistoric times through the modern era.
Aljibe Medieval – Ruins of the old well that were used as storage for rainwater. The visit includes an audiovisual presentation about the history of Teruel and costs only 1.3 EUR.
Plaza de El Torico – The beautiful square with gorgeous buildings and plenty of restaurants. One of Teruel’s best-known monuments is located there. It’s a very small statue of a bull on top of a tall column.

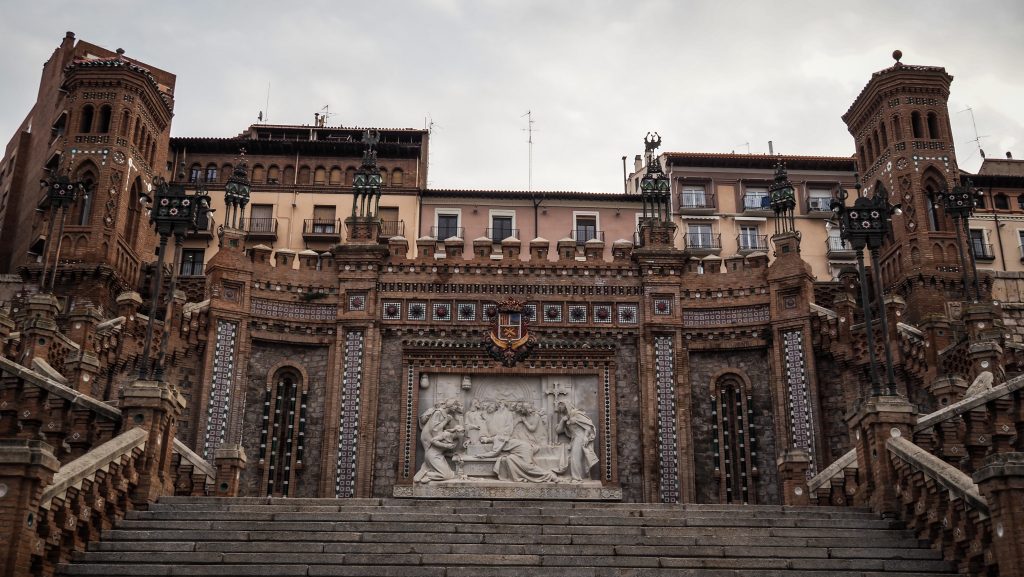
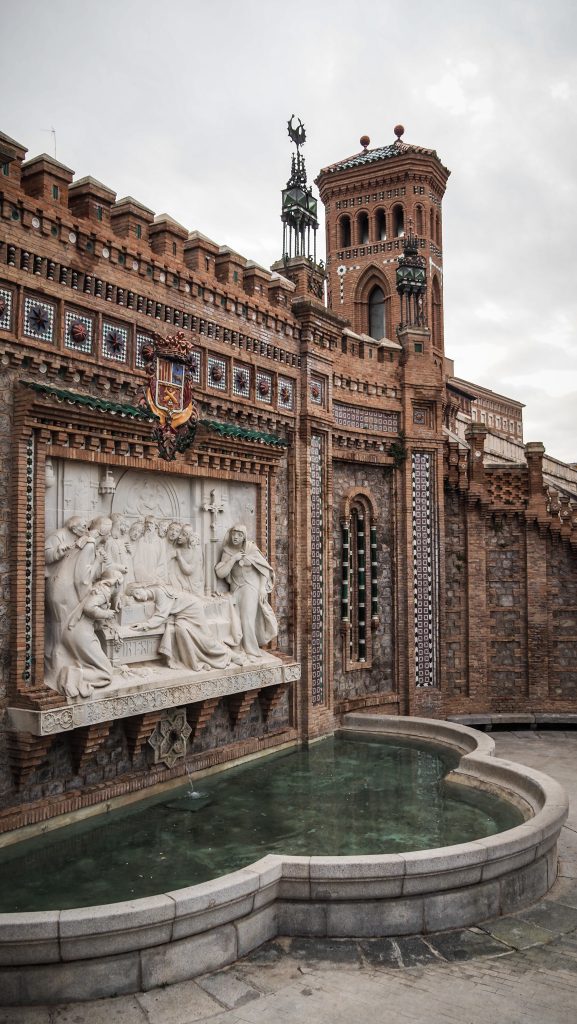
La Escalinata – This neo-Mudejar style work was built between 1920 and 1921 to connect the Plaza del Óvalo at the top with the train station at the bottom. In the centre of the stairway, you can admire the town’s coat of arms and the work by Aniceto Marinas that reflects the famous story of the lovers of Teruel that I described at the beginning of the post.

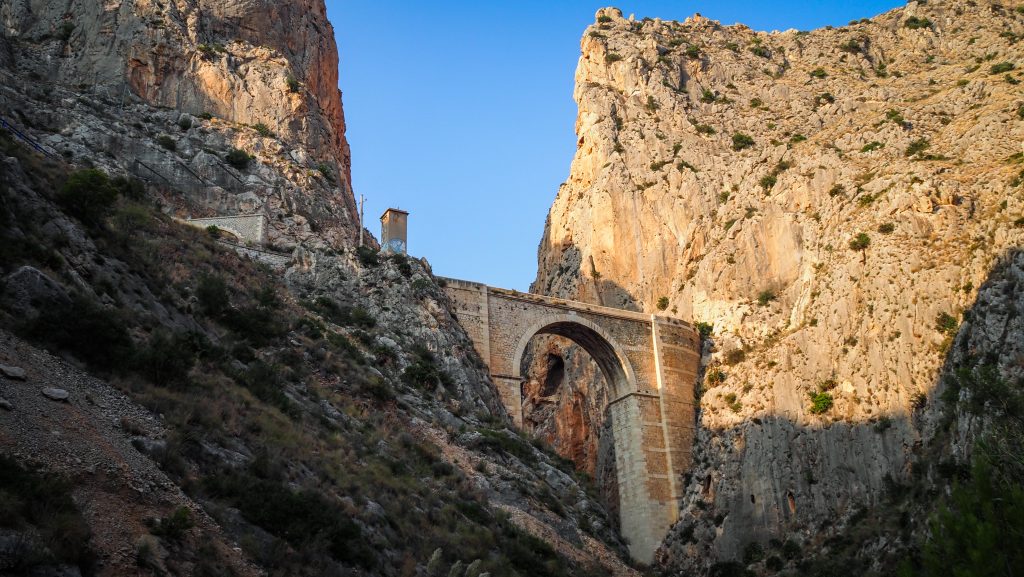
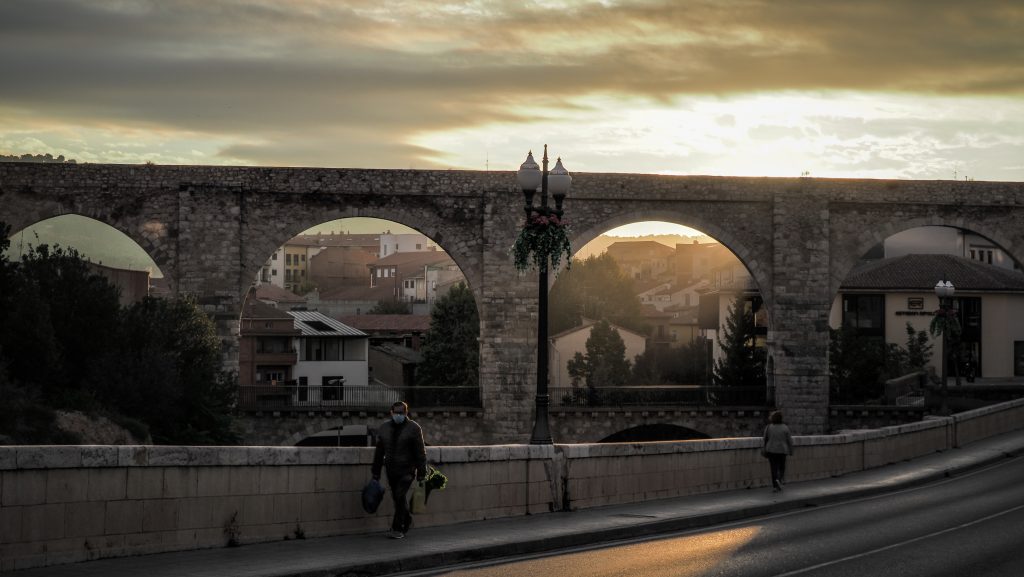
Aqueduct of Los Arcos – The structure was built between 1537 and 1558, with two levels. The bottom one serves even today as a pedestrian overpass and the upper one was used for transporting the water.
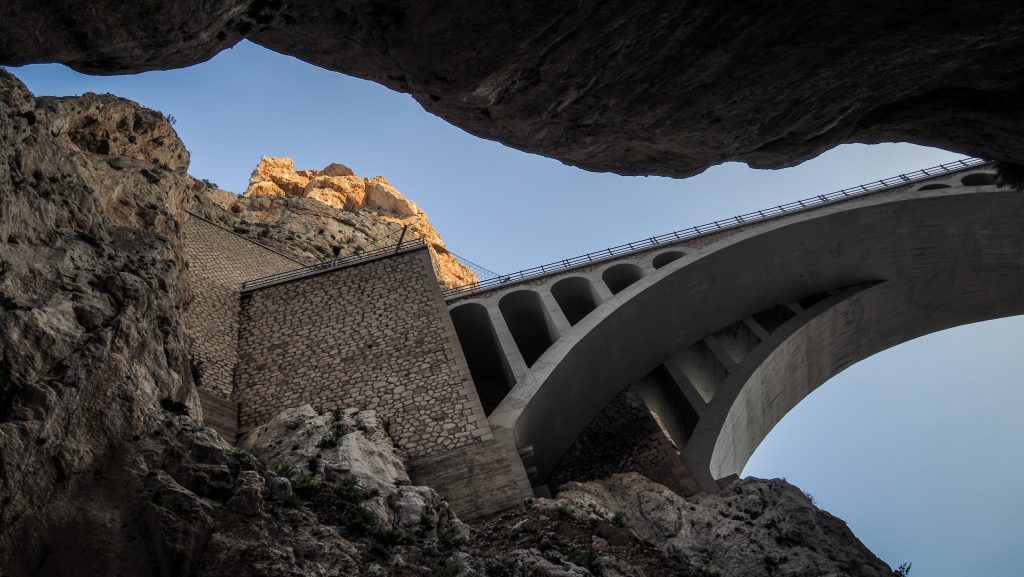
Viaducto de Fernando Hué – Impressive work of architecture built in 1929, linking the old town of Teruel with the area where the city expanded.
Hiking trips in the area
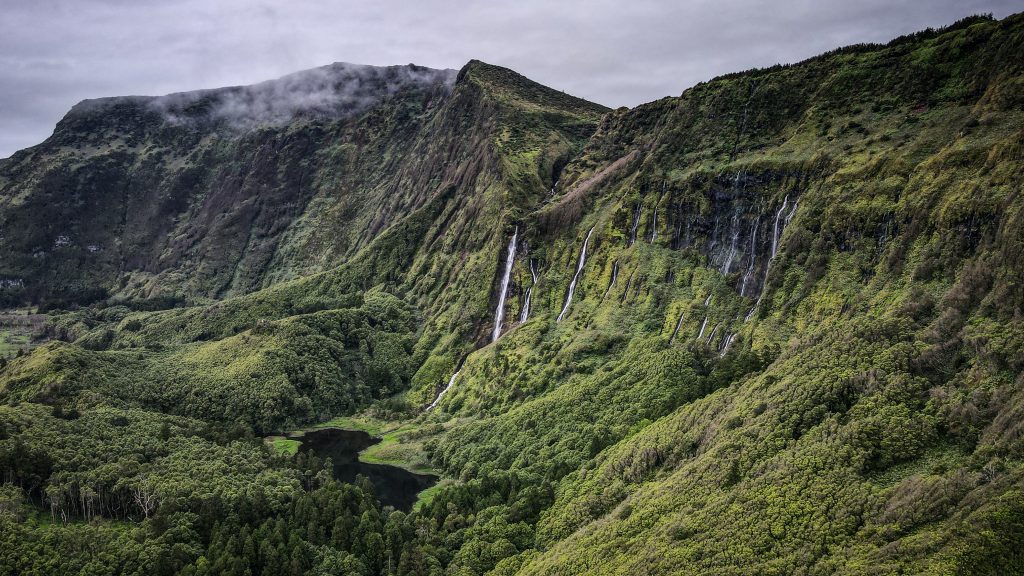
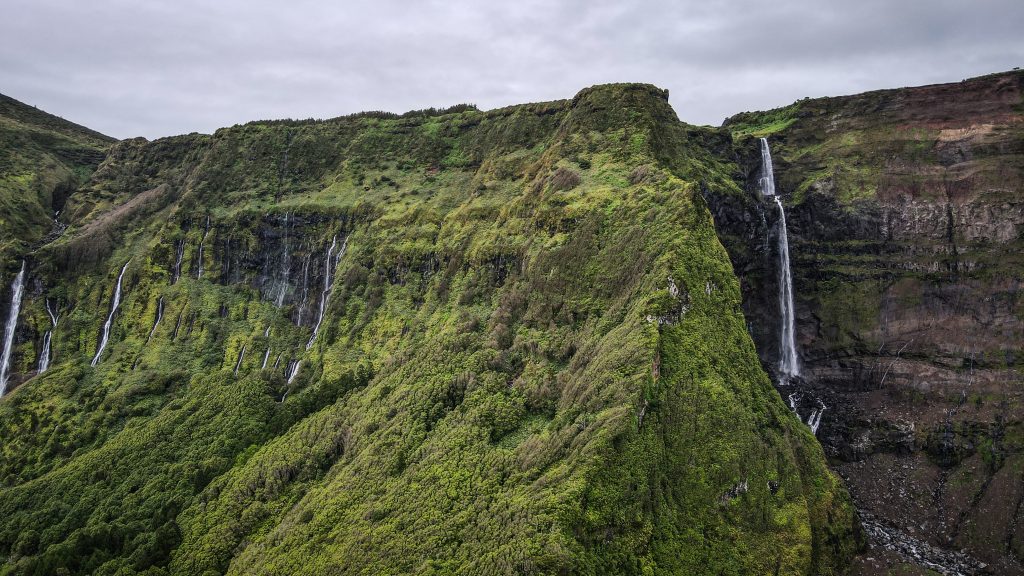
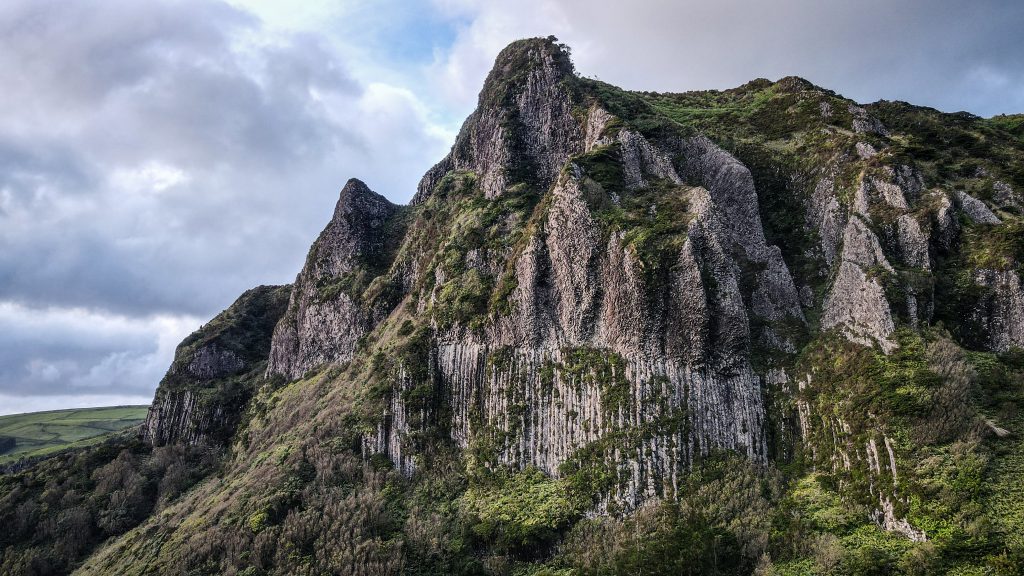
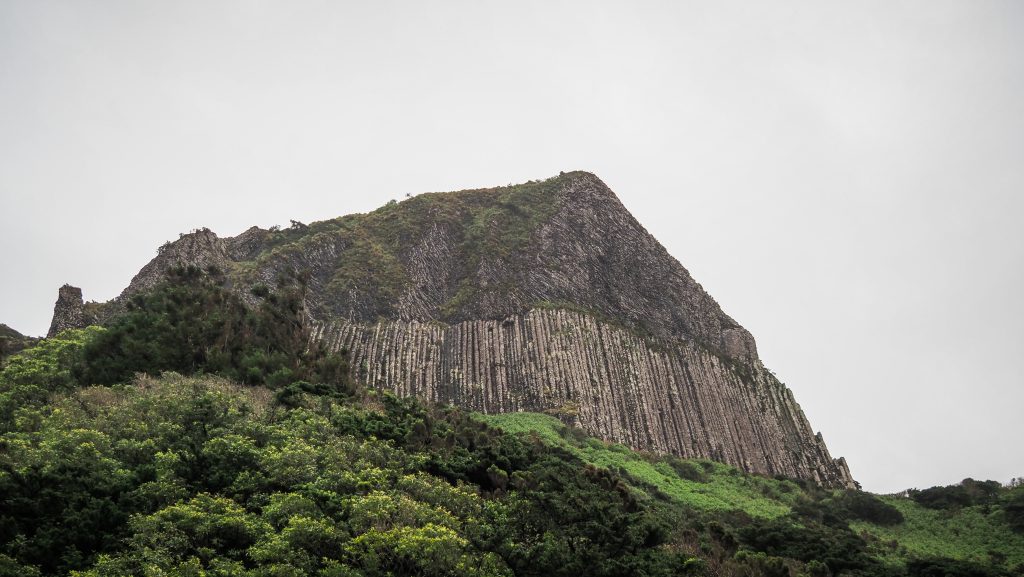
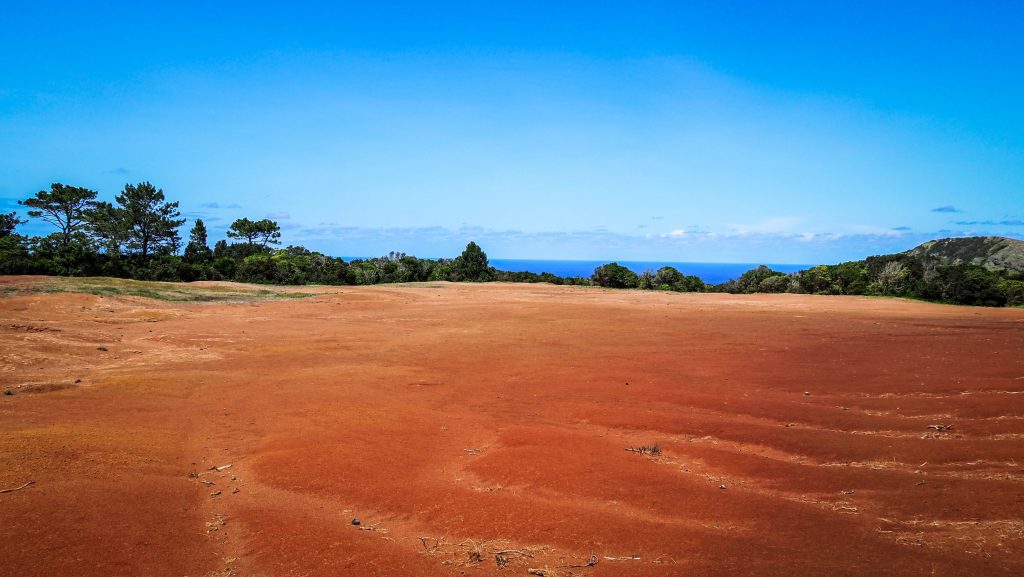
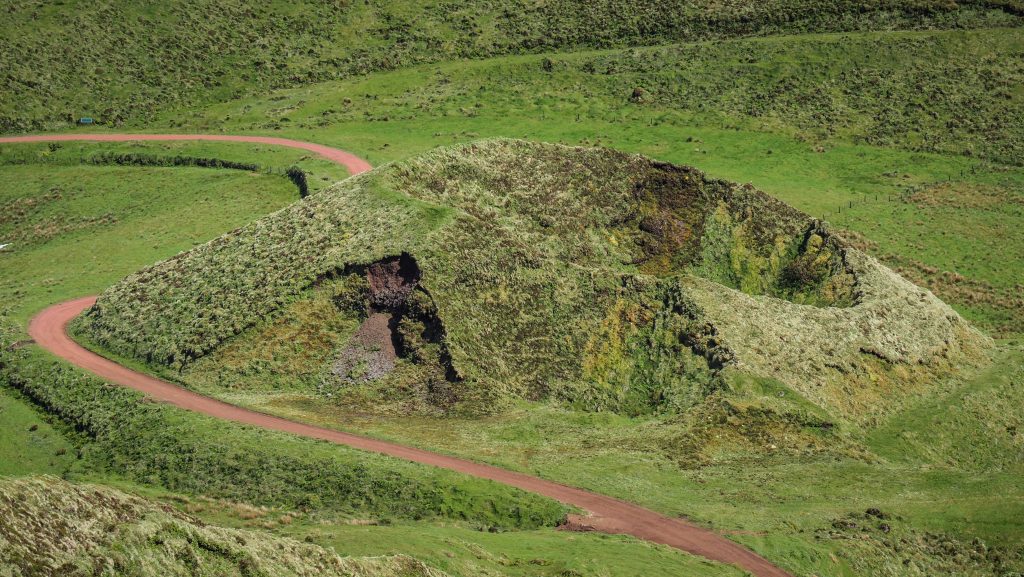
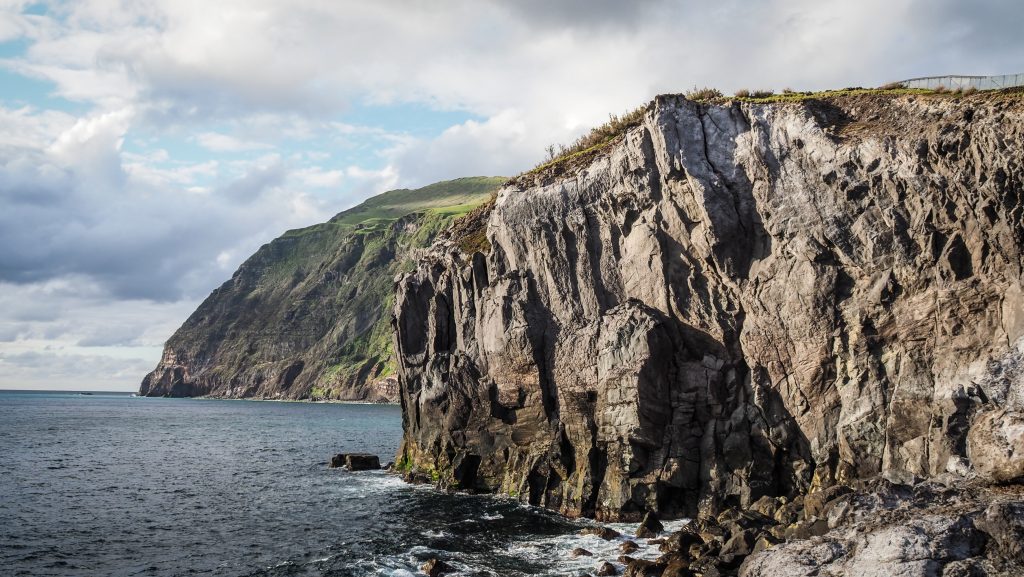
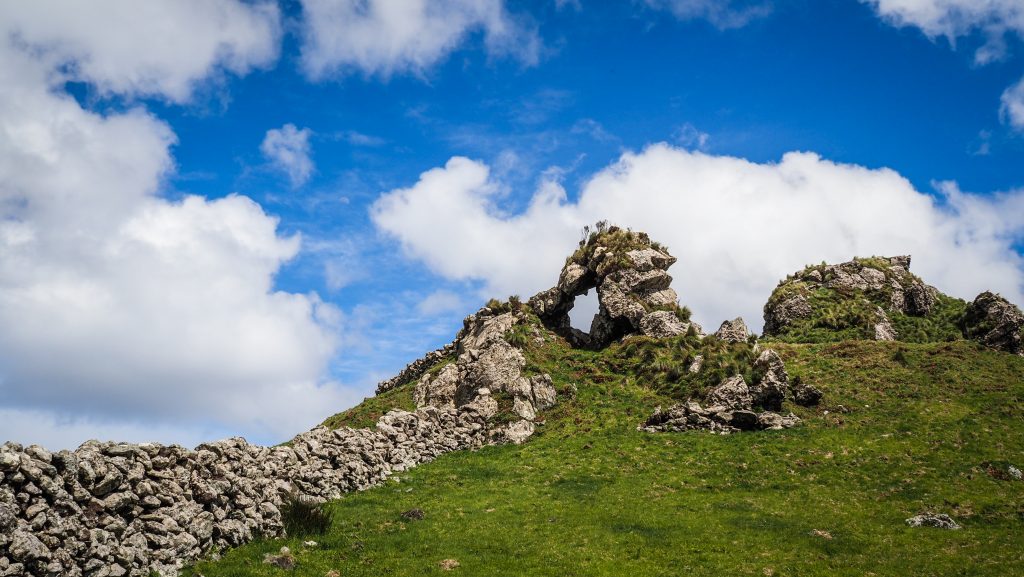
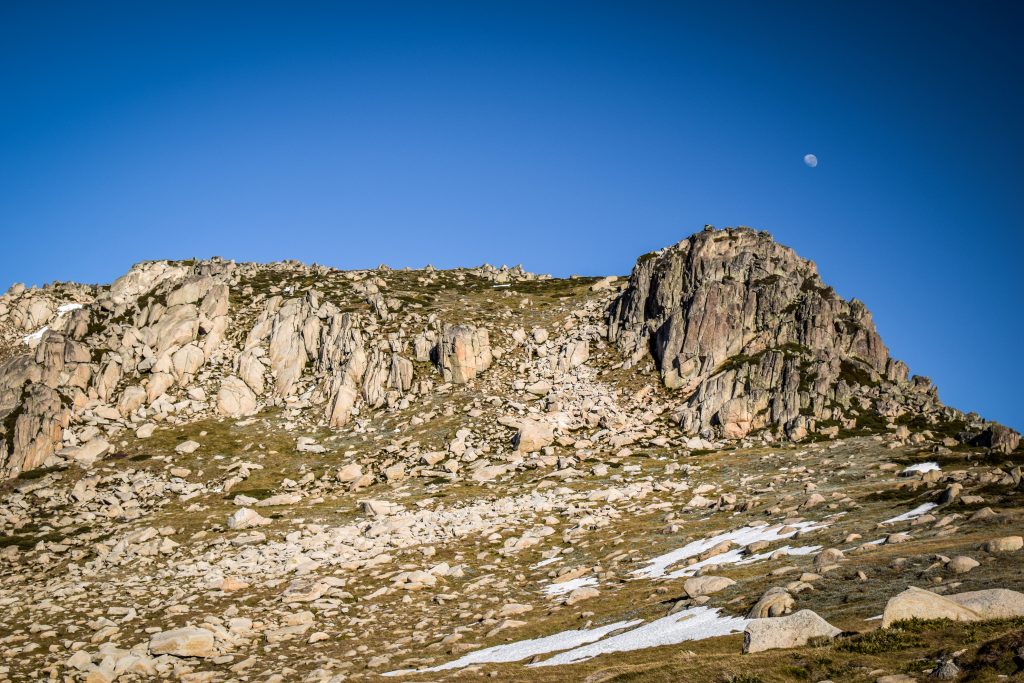
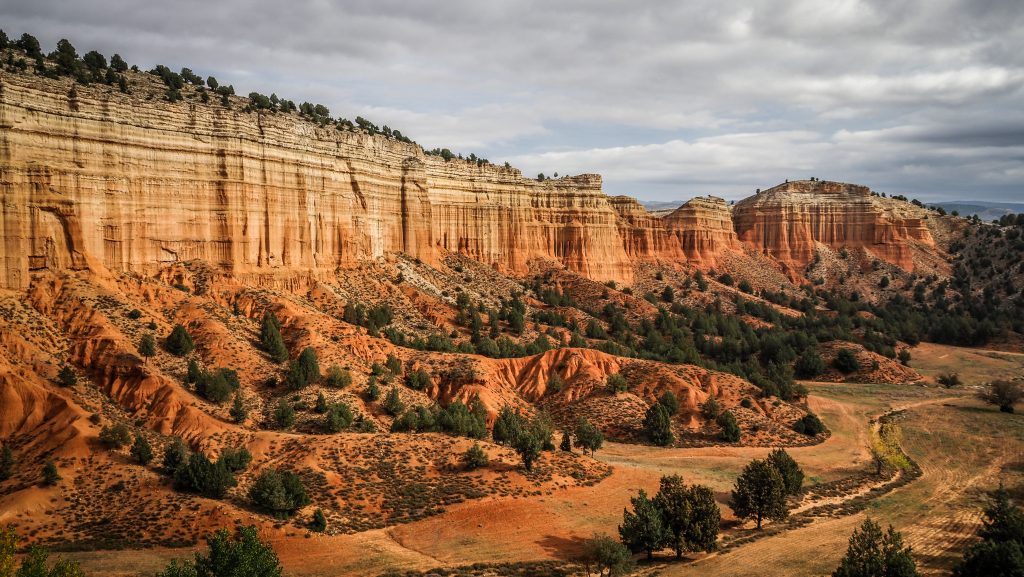
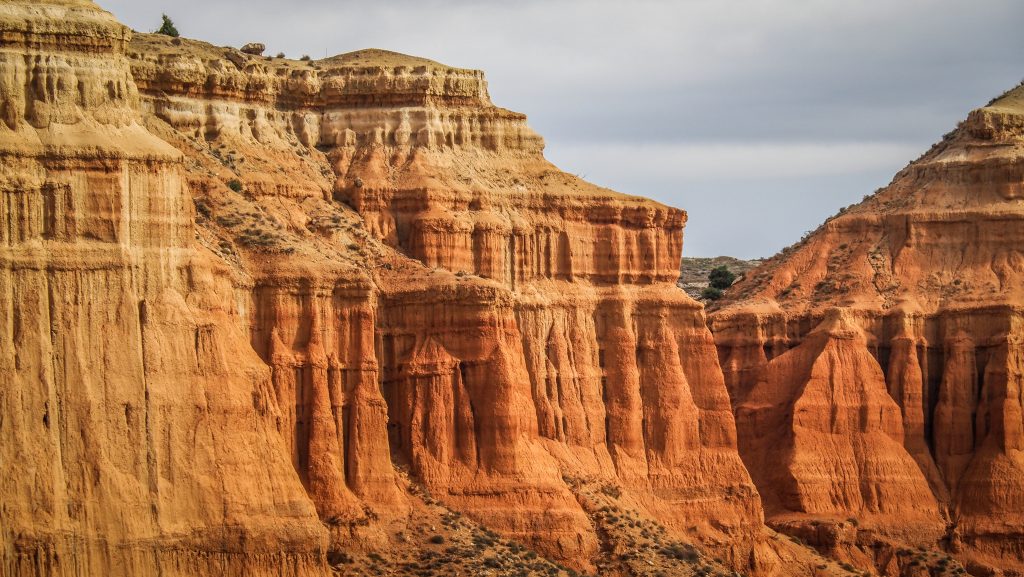
Cañon Rojo Teruel – If you want to feel like you are on the set of a western movie, this is the place. The arid landscape is truly unique, especially characteristic reddish clay formations and nearly vertical walls towering above your head.
This spectacular landscape is located about 5 kilometres from Teruel so you can either walk, cycle or drive there by car. I chose the last option, following N330 road and at some point turning right into the dirt road. Just follow Google Maps directions.
Once there, I suggest using the All Trails mobile app to navigate around. You can either do a circular trail or simply walk around the place for an hour or two, taking great pictures. The trails are not marked but paths are clearly visible.


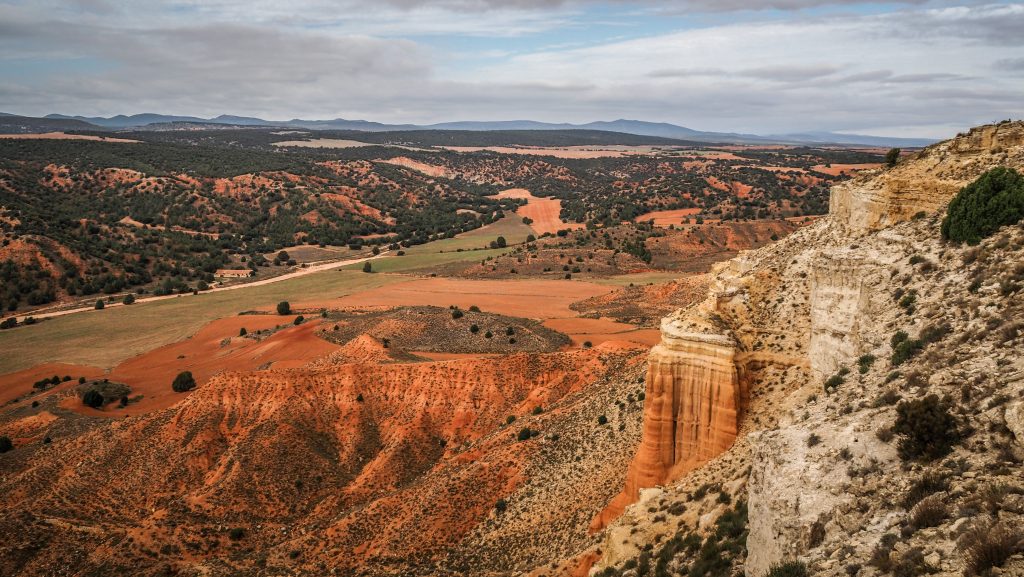
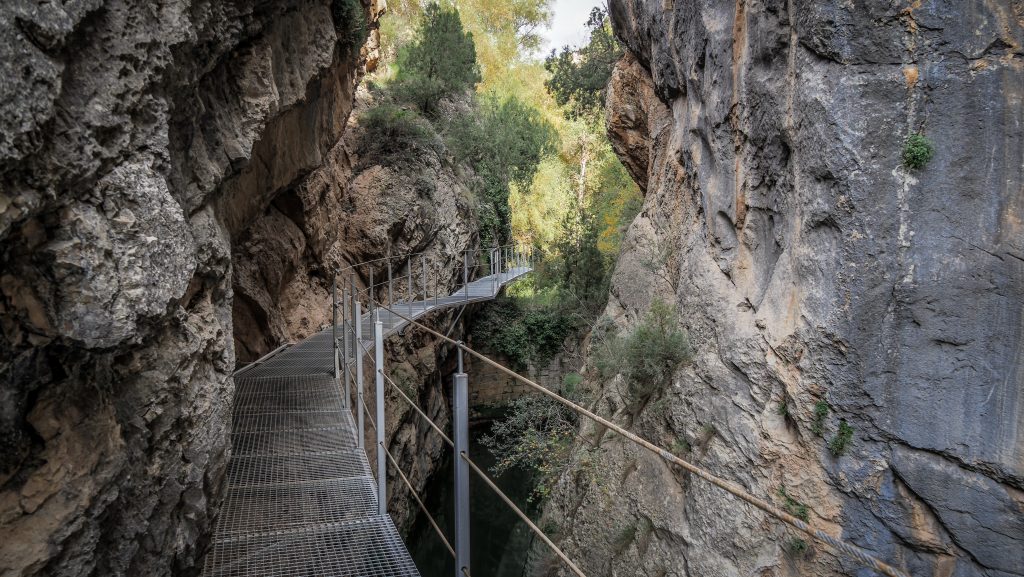
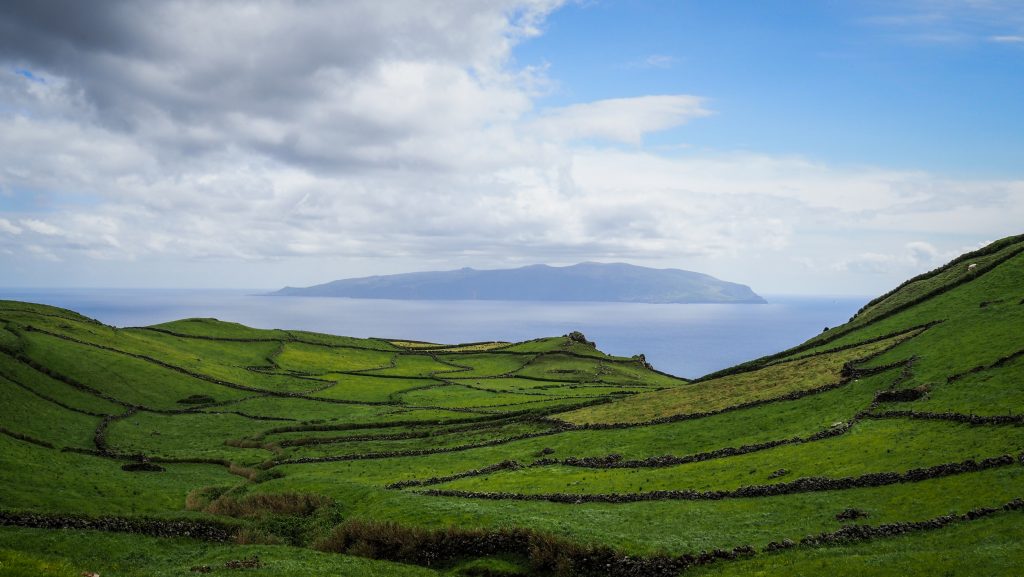
Camino Natural del Rio Guadalaviar – Beautiful route along the Guadalaviar river leading from San Blas to the Arquillo Reservoir. It is a little over 3 km one way, with the possibility of taking alternative path back to the parking, which goes much higher following the edge of the canyon, with the nice panoramic views of Teruel area. All paths are very well signposted.